Hey fellow foodies! Nadia here—your average, sushi-obsessed mom who’s mastered the art of whipping up tasty meals without losing her sanity. Today, I’m letting you in on a little secret that’s become my kitchen superhero: the Boston Roll. I discovered this beauty during a chaotic family trip to Boston, where one bite transformed me from skeptic to superfan. Imagine creamy avocado, plump shrimp, and crisp cucumber all hugged by sushi rice and nori, then crowned with those tiny, popping fish eggs (tobiko, anyone?). It’s like a flavor carnival in your mouth! Whether you’re a sushi rookie or a seasoned pro, this recipe is your ticket to a fuss-free, crowd-pleasing meal. Grab that bamboo mat—let’s roll!
Table of Contents
What Exactly Is a Boston Roll?
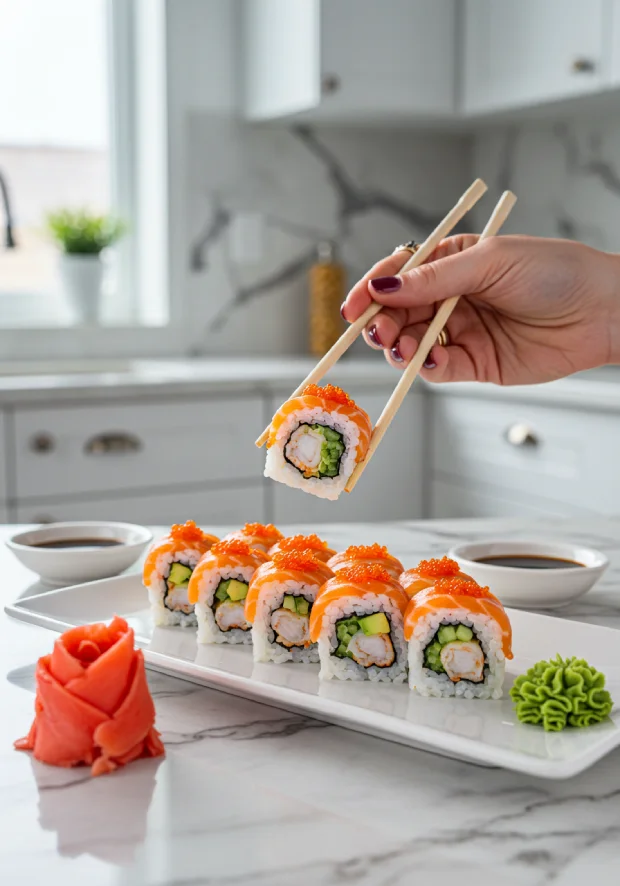
Let’s break it down: the Boston Roll is the lovechild of Japanese tradition and American ease. Forget raw fish dramas—this roll keeps it simple with cooked shrimp, avocado, cucumber, and a confetti sprinkle of tobiko. Wrapped in nori and sushi rice, it’s the California Roll’s East Coast cousin who traded crab for shrimp and never looked back. No one’s exactly sure where it was born, but who cares? It’s a U.S. sushi staple that’s approachable, fresh, and downright addictive. Think of it as sushi’s answer to comfort food—minus the guilt.
Why This Boston Roll Recipe Will Steal Your Heart
“Homemade sushi? Sounds risky,” you say? Honey, this roll is here to prove you wrong. Here’s why it’s a keeper:
- Flavor Bomb Alert: Sweet shrimp, buttery avocado, and crunchy cucumber—it’s a trio that’ll make your taste buds dance.
- No Chef Skills Needed: Seriously, if I can do this while wrangling toddlers, so can you.
- Make It Your Own: Swap shrimp for crab, add a spicy mayo drizzle, or go veggie—it’s your kitchen, your rules!
- Party MVP: Serve these at gatherings and watch them vanish faster than cookies at a bake sale.
- Beginner’s Luck: Messy first attempt? Join the club! My debut roll looked like a sushi grenade exploded—but it tasted amazing.
- Speed Demon: 15 minutes prep? Yes, please. Perfect for nights when takeout feels too slow.
Crafting Your Boston Roll: Let’s Get Rolling!
Ready to play sushi chef? Don’t panic—it’s easier than folding a fitted sheet. Here’s the game plan: season rice, cook shrimp, assemble fillings, roll, slice, and devour. Follow these steps, and you’ll be a sushi sensei in no time.
Boston Roll Ingredients
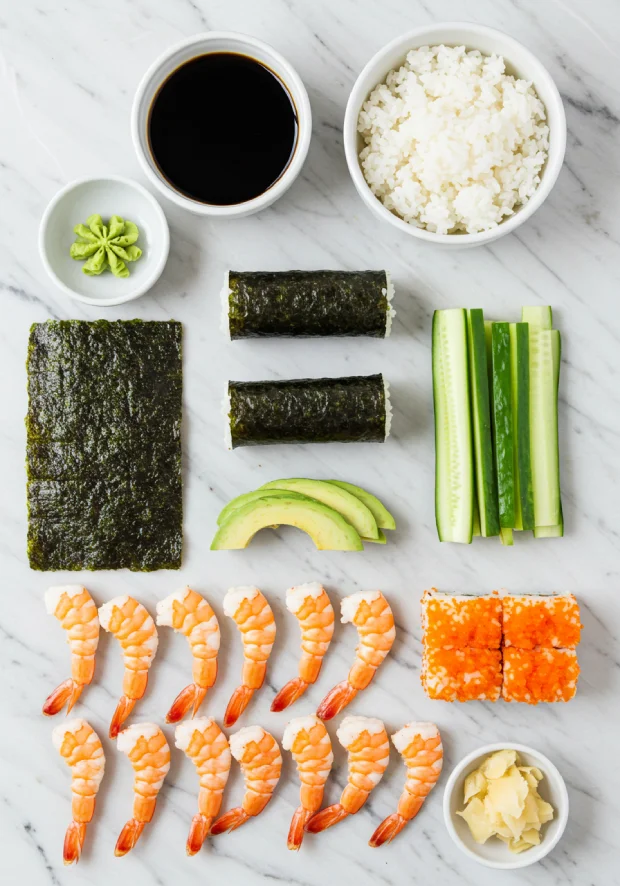
Gather these staples (no fancy pantry raids required):


- 2 cups cooked sushi rice
- 4 tbsp rice vinegar
- 2 tbsp sugar
- 1 tsp salt
- 12 large shrimp (steamed and sliced lengthwise)
- 2 nori sheets
- 1 avocado (sliced into thin strips)
- 1 cucumber (julienned into sticks)
- ⅓ cup tobiko or masago (those fun, crunchy fish eggs)
- Soy sauce, wasabi, pickled ginger (for serving)
Step-by-Step Guide
Prep Time: 15 mins | Cook Time: 3 mins


- Prep the Sushi Rice
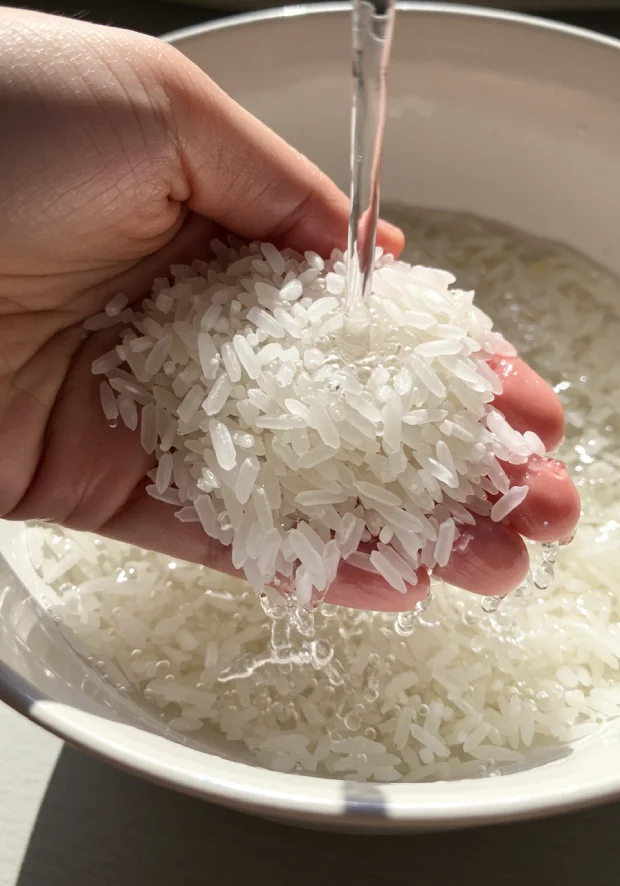
Rinse rice until the water runs clear—like giving it a spa day. Cook per package instructions, then mix in vinegar, sugar, and salt while it’s hot. Let it cool; patience is key here! - Cook the Shrimp
Simmer shrimp in lightly salted water for 2-3 minutes until pink and firm. Slice ’em lengthwise once cooled. Pro tip: Undercook slightly—they’ll keep firmness when sliced. - Set Up Your Station
Lay a bamboo mat on the counter. Cover it with plastic wrap (trust me, this saves sanity). Place a nori sheet shiny side down. Channel your inner artist. - Spread the Rice
Wet your hands (rice sticks like glitter). Press rice onto nori, leaving a 1-inch border at the top. Aim for even thickness—no Mount Everest mounds. - Layer the Fillings
Line avocado, cucumber, and shrimp down the center. Less is more here—overstuffing leads to sushi burrito chaos. - Roll It Like You Mean It
Lift the mat’s edge and roll away from you, tucking ingredients snugly. Squeeze gently—think “hug,” not “death grip.” - Slice with Confidence
Wet a sharp knife (wipe between cuts) and slice into 6-8 pieces. Jagged edges? Call it “rustic charm.” - Plate Like a Pro
Arrange pieces on a dish, sprinkle with tobiko, and serve with soy sauce, wasabi, and ginger. Cue the applause!
Perfect Pairings for Your Boston Roll
Don’t let your roll dine alone! Pair it with:
- Miso Soup: Warm, savory, and comforting—like a liquid hug.
- Edamame: Sprinkle with sea salt for a salty crunch.
- Green Salad: Light greens with ginger dressing balance the roll’s richness.
Pro Tips for Boston Roll
- Freshness Wins: Stale shrimp or mushy avocado? Nope. Splurge on quality.
- Rice Matters: Season it well—it’s the flavor backbone.
- Knife Hack: A damp blade = clean cuts. Dry knife = sushi confetti.
- Embrace Imperfection: My first roll? A hot mess. Yours will still taste divine.
Storing Leftovers (If You Have Any!)
Sushi’s best fresh, but if leftovers happen:
- Fridge: Store in an airtight container for up to 24 hours.
- Reheating: Just…don’t. Enjoy it cold or let it sit briefly to take off the chill.
FAQs: Your Burning Questions, Answered
- “Can I Use Different Protein?”
Absolutely! Crab, cooked salmon, or even tofu works. Get creative! - “Gluten-Free Options?”
Swap regular soy sauce for tamari. Easy fix! - “Make Rice Ahead?”
Yes! Prep it 2-3 hours early—just keep it covered at room temp.
Final Thoughts
There you have it—the Boston Roll, demystified! Whether it’s for a dinner party or a “why not?” Tuesday night, this recipe’s a winner. Remember, sushi-making is supposed to be fun—laugh at the messy rolls, savor the victories, and dunk generously in soy sauce. Now, go forth and roll like a boss!
P.S. Tag me on Instagram @Kitchenslovers if you try it—I’d love to see your creations (wonky or wonderful!).
Love This Recipe?
Dive into more indulgent recipes in our Lunch Category


